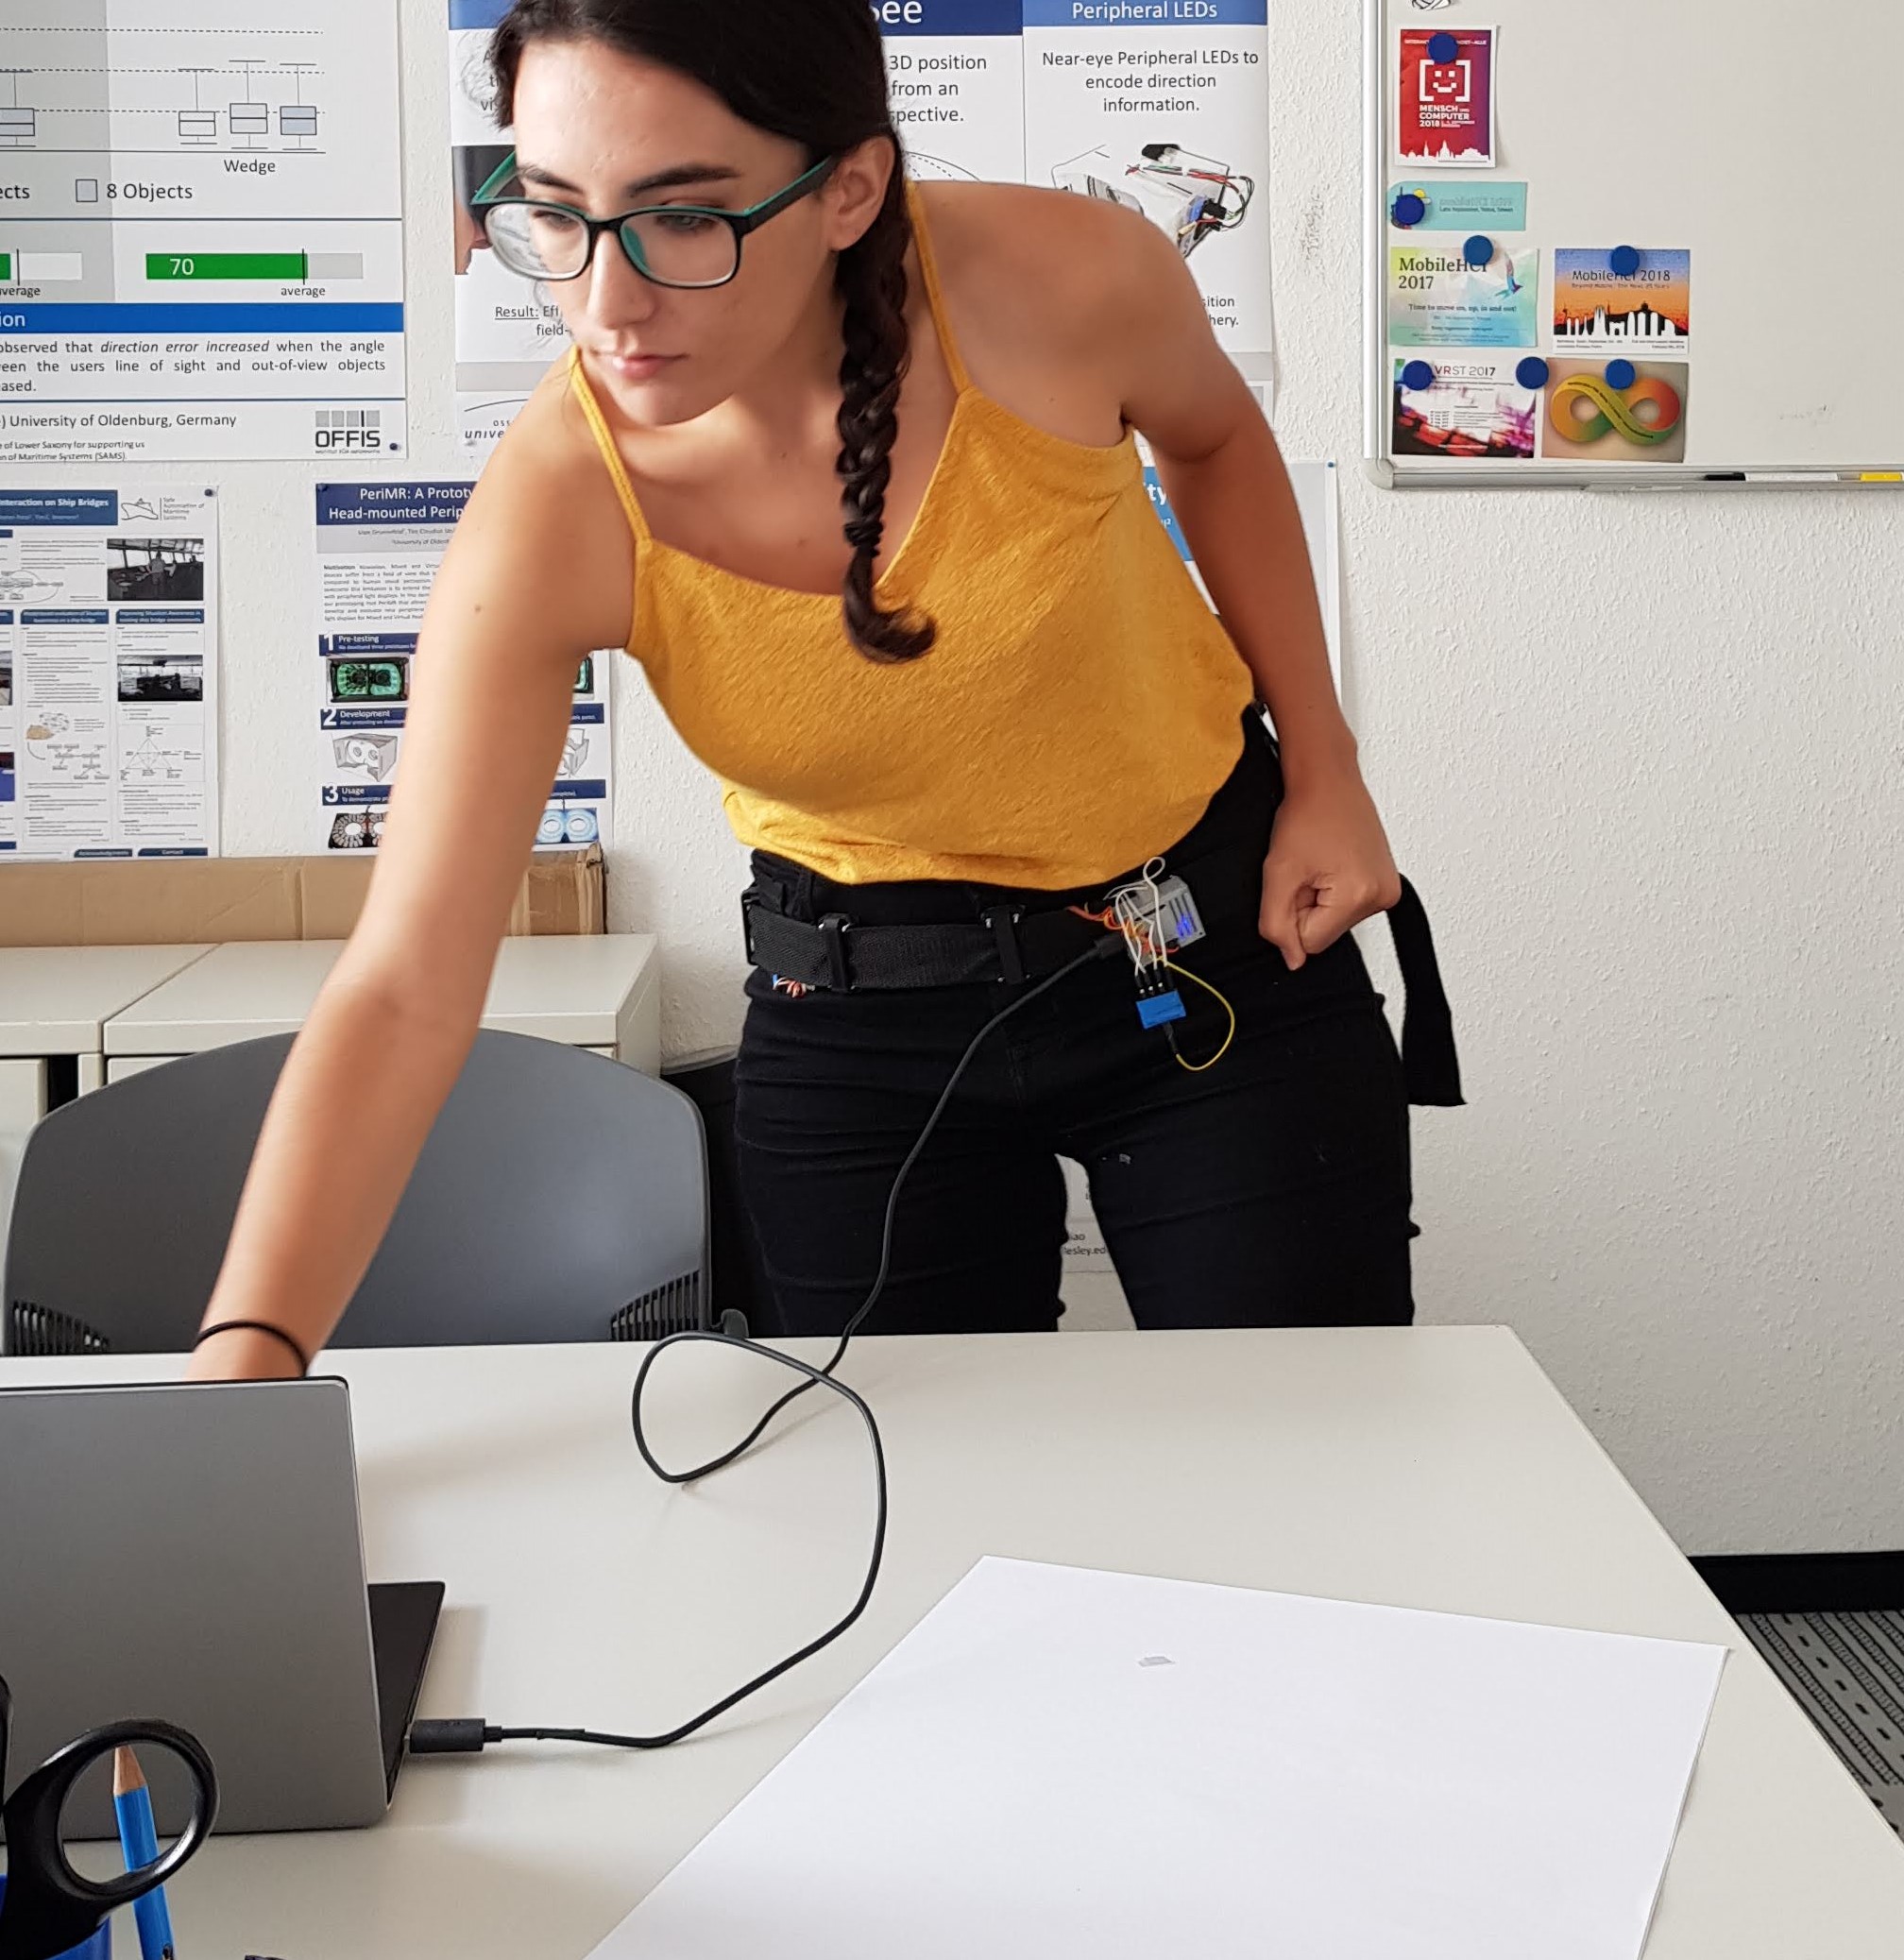
I just wrapped up my first three weeks in Oldenburg, Germany as part of the IRES summer HCI program. So far I’ve had the chance to build upon my existing abilities, as well as learn new skills. I’m working on research which uses tactile cues to indicate a particular direction to a user. This is being achieved using a haptic belt — a belt with 8 points which will indicate the direction (front, right, back, etc.) of some object in an AR setting. So far, this has been tested with FlyingARrow on the Microsoft HoloLens. In FlyingARrow, there is a target ‘cube’ which the user is trying to find. Because of the very limited field-of-view in the HoloLens, it’s a bit challenging to find objects without some sort of guidance.
Week 1 – 2
My first two weeks were spent building the haptic belt. From Unity, every 5 seconds an HTTP request is sent to an Arduino indicating a particular direction. That Arduino will then provide haptic feedback to the user in that direction. For example, the user will be wearing the AR headset, and trying to find a cube (this is the case in Flying ARrow). The cube is behind them, so Unity will send an HTTP message to the Arduino indicating that the object is behind the user. The belt will then provide feedback in the ‘back’ unit, which is the unit which is directly behind the user on the belt.
The easiest way to provide haptic feedback is with vibration, so my first iteration of the belt uses vibration motors. When I was given this project, the vibration motors were all glued to €0.05 coins to increase the vibration surface area. I tried to keep the coins in my first design, but soon realized the plastic cover was dampening the vibration.
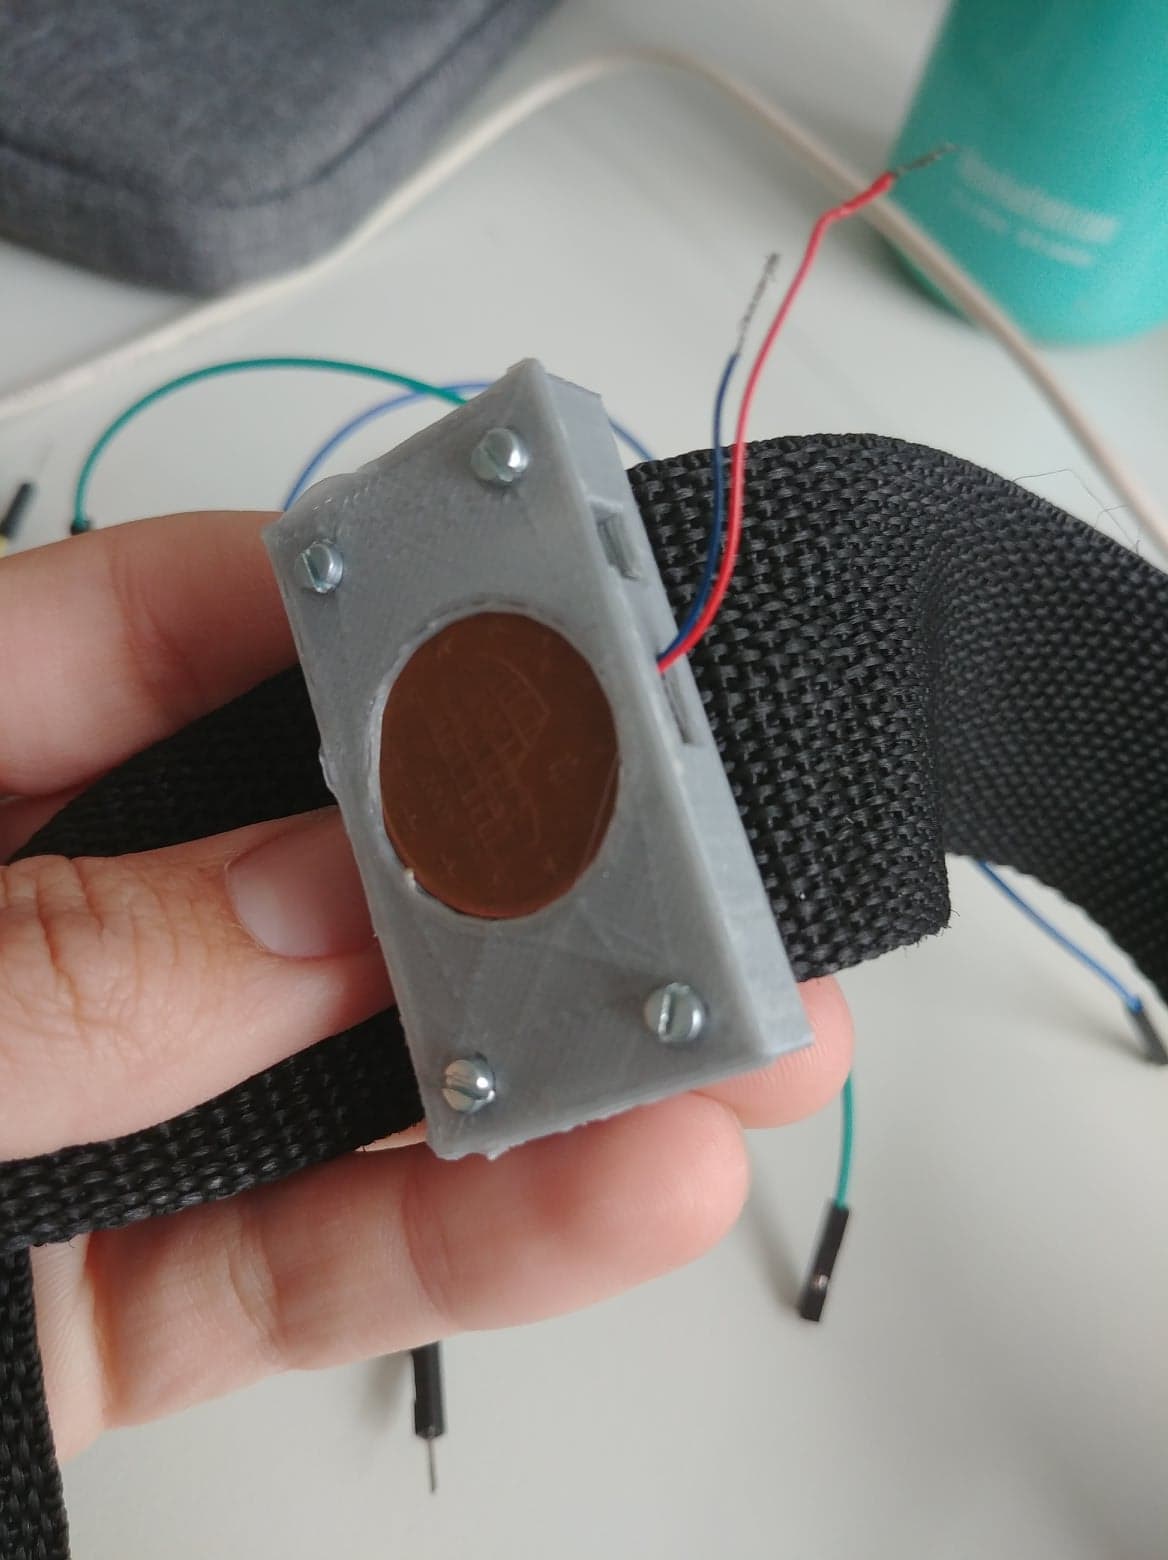
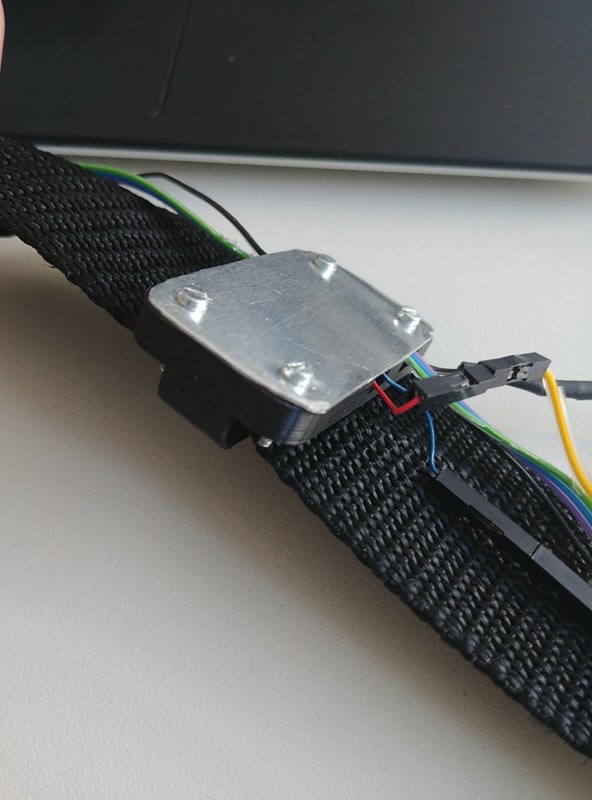
My solution to the dampening was the remove the coin entirely, and replace the entire cover with an aluminum plate (some research concluded that aluminum carries sound waves best — and it’s also easy to cut!). This was a significant improvement, and carried a heavy vibration that the user can easily feel over clothing. Because this worked so well, I went ahead and built the belt with this design.
Week 3
At this point, there was a working haptic belt which provided directional information via vibration. We began considering additional types of haptic feedback that we could test, and eventually compare them against one another in a user study.
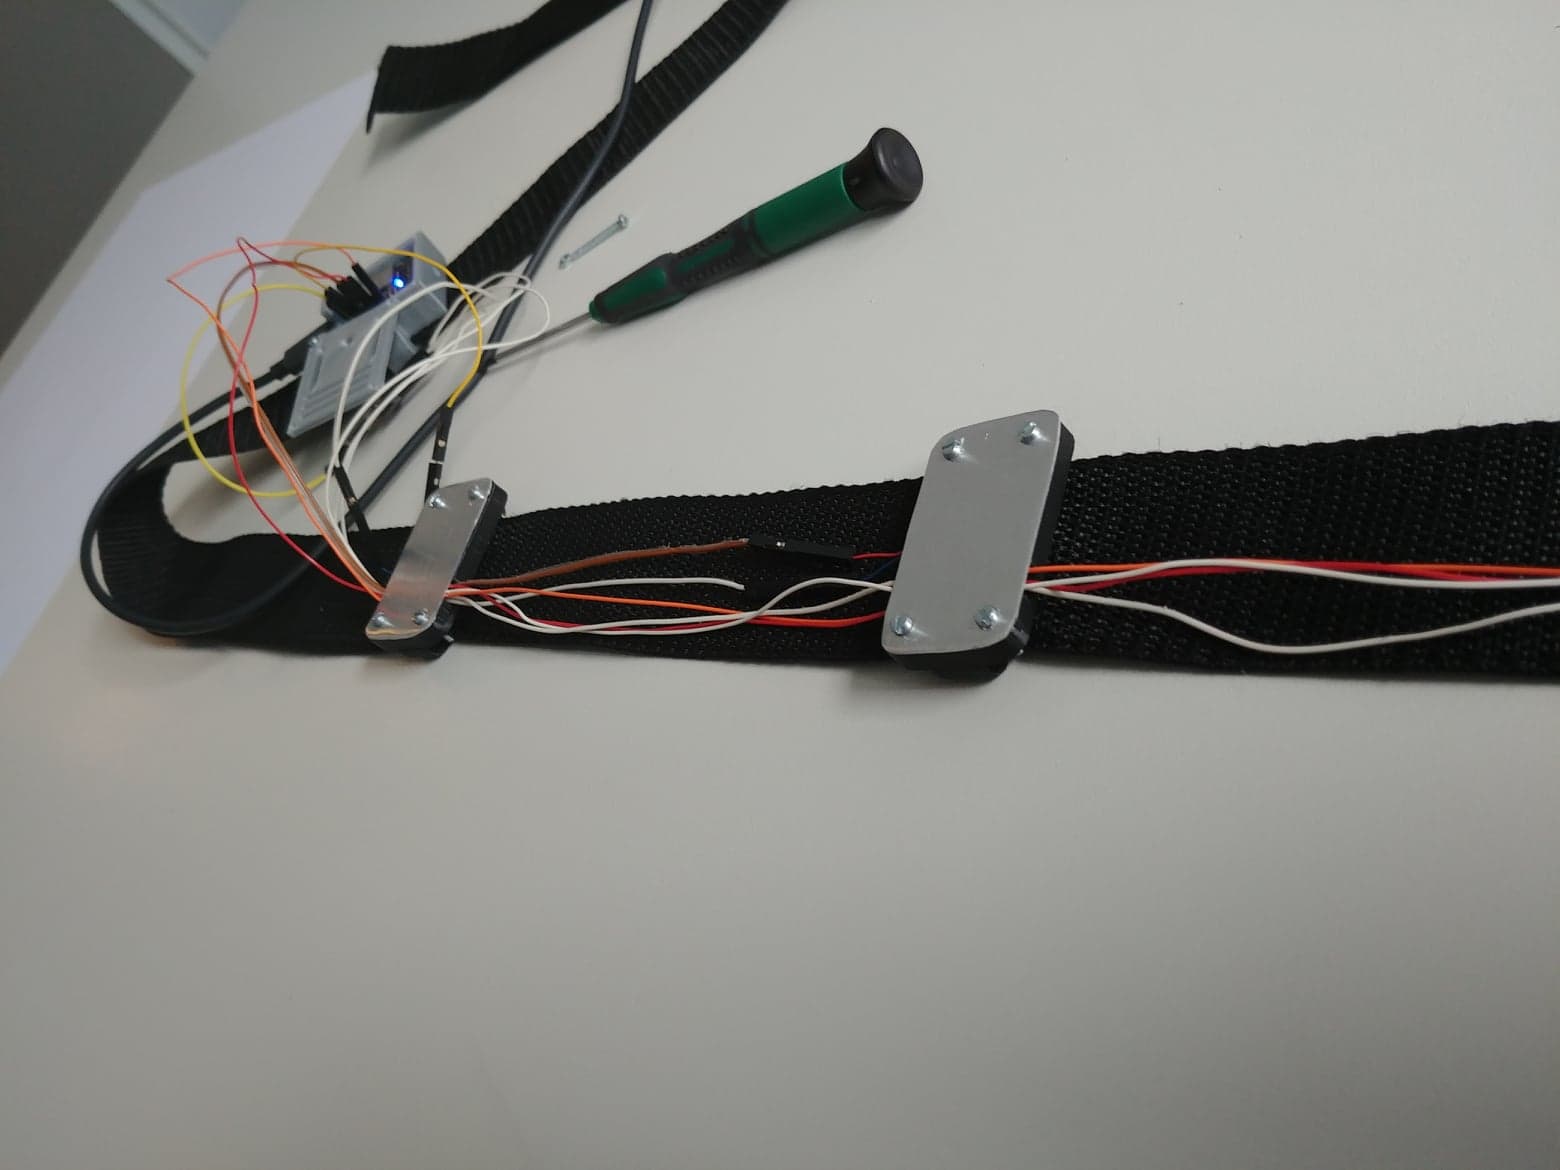
We decided that in additional to vibration, heat and pressure would be effective types of feedback. First, I started working on adding heat. In order to do this, I used a peltier unit, which is a thermoelectric cooler. Because a peltier unit is small, it seemed reasonable to refactor my existing haptic unit to contain both vibration and heat feedback. I should mention that this was significantly more difficult for me because I’m not very advanced with electronics and I’m more of a programmer, so this took some time to wire up and work correctly. Thanks to Theo for your help with this!
In addition to adding the cooler, it was also recommended that I made the unit more visually appealing by removing the screws on the front, which you can see below.

This is essentially complete, though I only have one functioning unit. Now, I’m focusing on the third type of haptic feedback — pressure. This will be done using pneumatic directional control valves! For now, this is all being tested in FlyingARrow, but will soon be applied to other applications involving nautical ship bridges.
In addition to working, I’ve been doing a ton of travelling and exploring! You can see more about that in the blogs of my fellow IRES students here and here. I also went to Mallorca Spain this past weekend and am going to Paris this upcoming weekend! Thanks for reading!